
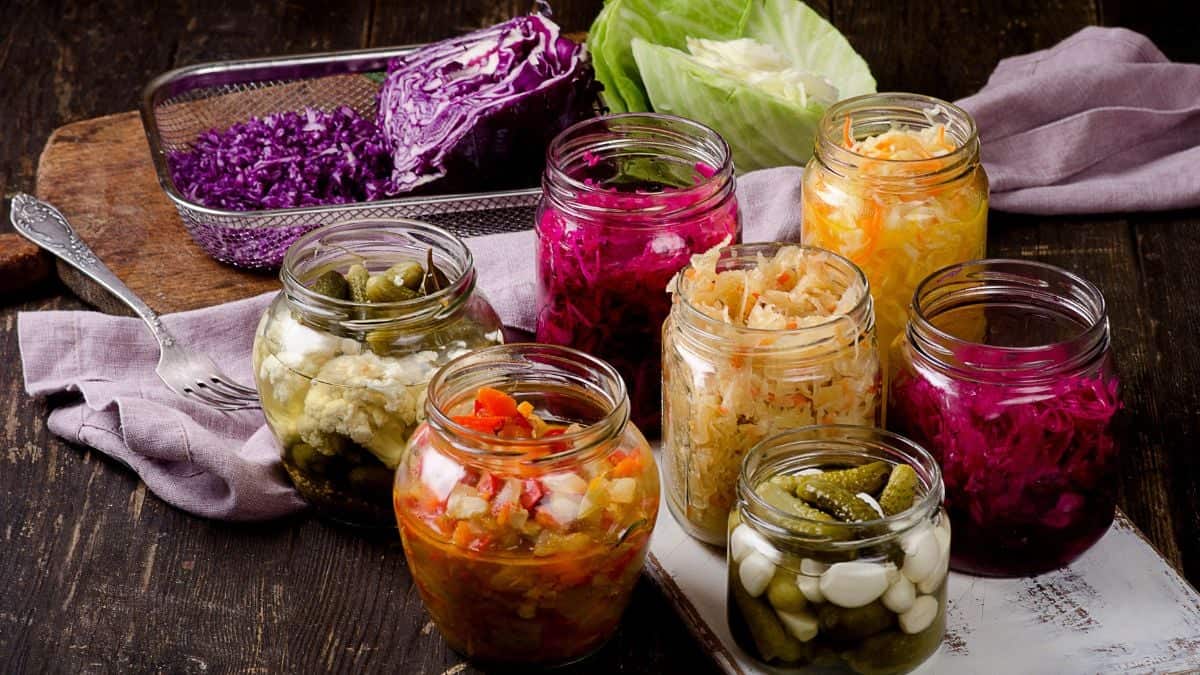
Fermenting your own veggies isn’t just fun, it’s also a great way to save money. Store-bought fermented foods can be pricey, but with a few basic ingredients, you can make a batch at home for a fraction of the cost. Plus, you get to control exactly what goes into your food – no hidden preservatives or extra sodium. Imagine having a stash of tasty, homemade pickles or sauerkraut ready to go whenever you want. You can with these simple steps.
Why Ferment?
Fermentation isn’t just a trend; it’s a game-changer for both your palate and health. By jumping into the world of fermentation, you’re unlocking flavors that can transform any meal. Beyond their tangy taste, fermented foods are probiotic powerhouses, supporting gut health and boosting your immune system. So, if you’re looking to do your body a favor and save some cash, learning to ferment at home is a journey worth starting.
What is Lacto-Fermentation?

The term “lacto-fermented” might throw you off at first — no, it doesn’t have anything to do with dairy. Instead, it’s all about the magic of lactic acid. This process kicks off when lactobacillus bacteria, naturally found on fruits and vegetables, begin transforming sugars into lactic acid in an oxygen-free setup. This conversion is the secret behind the unique, tangy taste of fermented foods.
Why Making Your Own Is Worth It
Making your own fermented vegetables is worth it because it’s easy and cost-effective, turning simple veggies into nutritious, flavor-packed foods. It’s a great way to add probiotics to your diet for better gut health. Plus, you get the satisfaction of creating something unique and delicious right at home. What can cost close to $10 a jar in the store, you can make for a fraction of the cost at home.
Here’s What You’ll Need
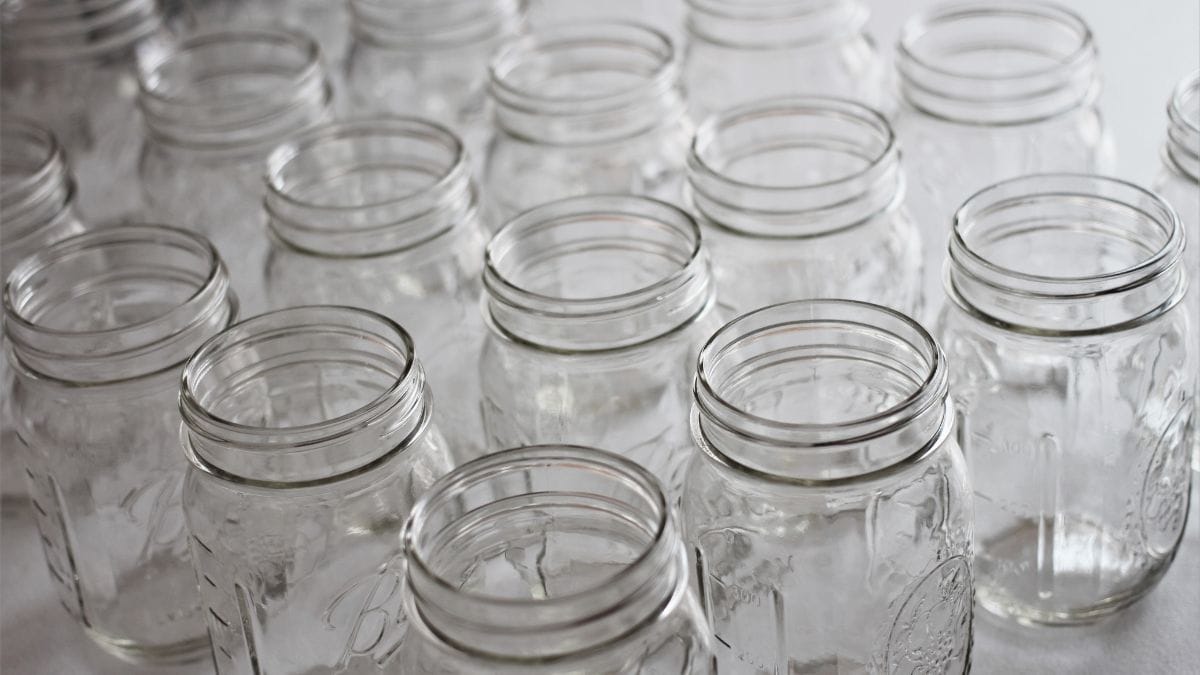
The essentials of fermenting are incredible basic:
- 1 quart wide mouth mason jar
- plastic lid
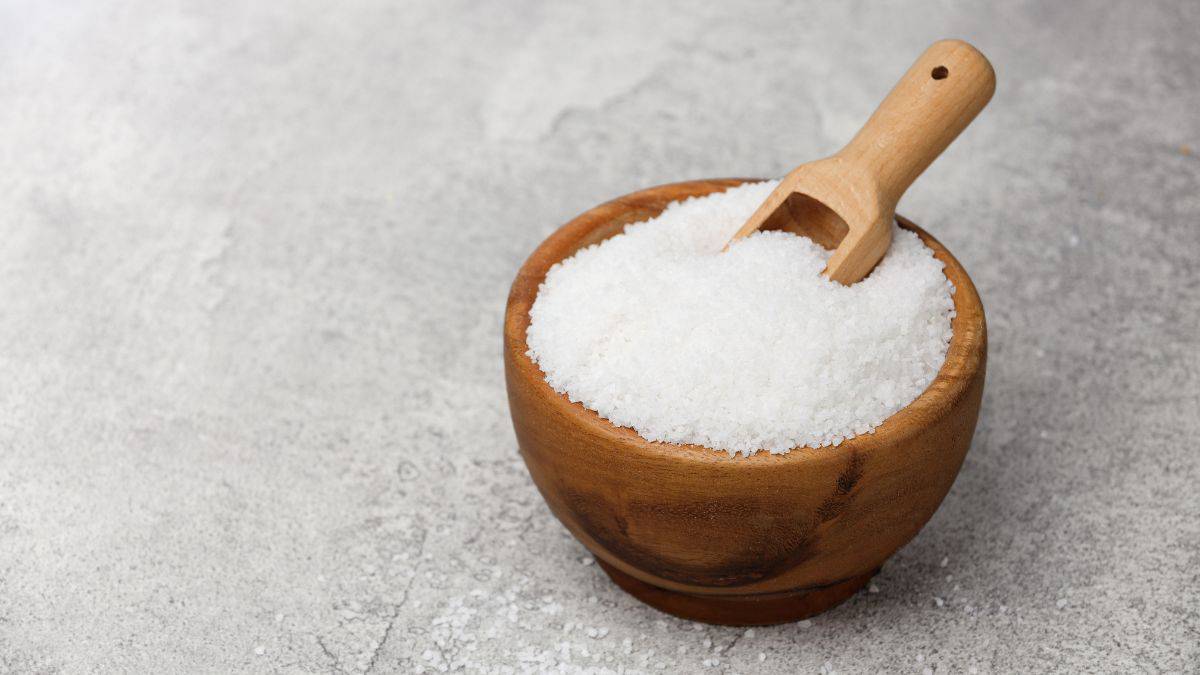
- sea salt
- water
Those Are Just The Basics
However, those are just the basics. With an array of different fermentation supplies, you can make this venture as simple or as complex as you want. When I first started, I had nothing but the basics. Over time, I learned what was worth purchasing and what wasn’t. My advice: Start simple and see what you think after a few batches.
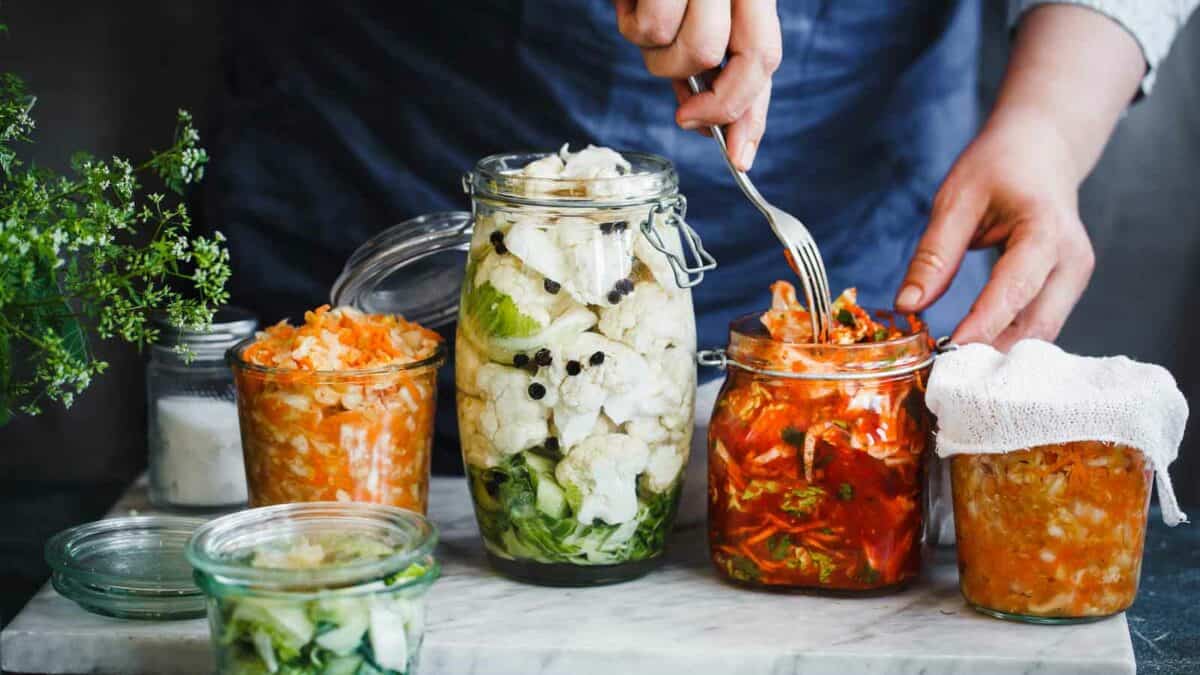
Pick Your Veggies
Once you have the supplies, pick the vegetables you want to ferment. Popular choices are cabbage, radishes, carrots and broccoli. However, almost anything can be fermented. Stay away from delicate leafy greens and choose veggies that will stand up better to the process.
Prep Your Vegetables

Next, it’s time to decide how you want to cut the vegetables. Do you like your cabbage shredded like sauerkraut or cut more thickly like kimchi? Carrots can be shredded or chopped, radishes sliced thin or cut into quarters. This step is all about personal preference.
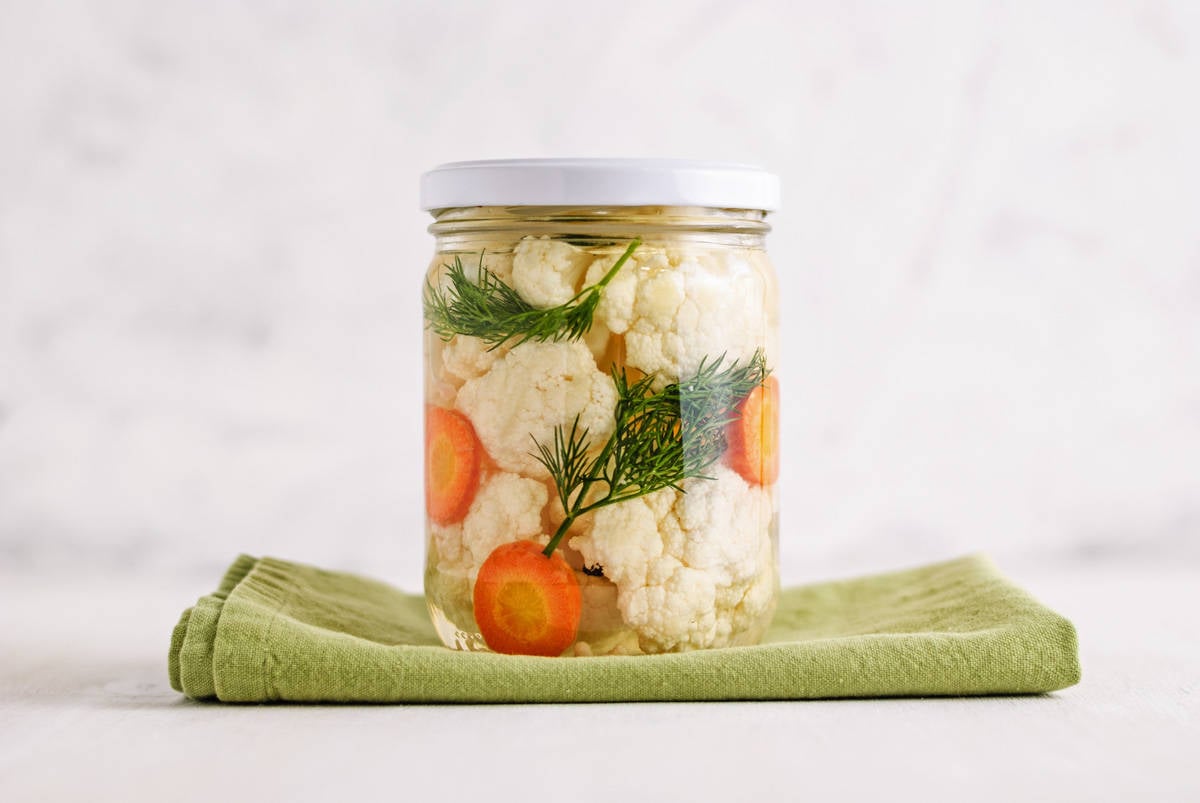
Fill The Jar
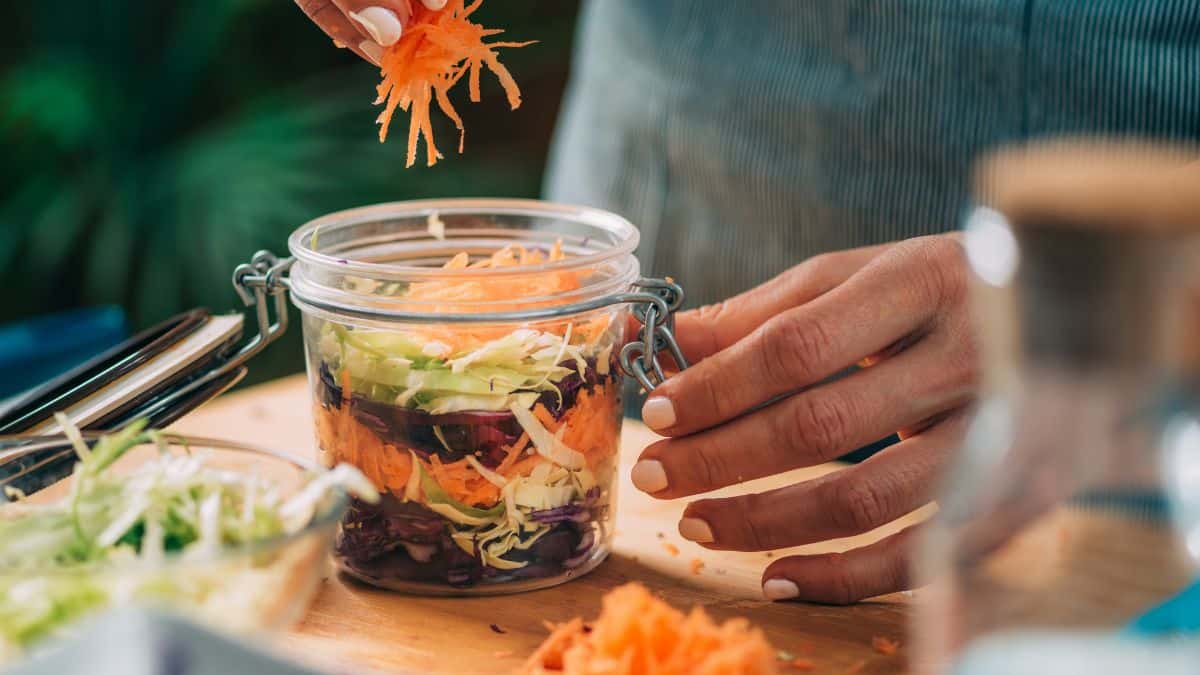
Once the vegetables are prepped, stuff them into the wide-mouth mason jar and fill it up leaving about 1 inch of space to the top of the jar. You can also add any herbs or spices you’d like to use to the jar at this time as well. Things like peppercorns, dill, bay leaves and garlic are all good choices.
Dissolve The Salt In The Water
Stir filtered water and salt together until the salt dissolves. I use 1 1/2 tablespoons of coarse sea salt to 2 cups of water. Adjust the amounts to what you need but keep the ratios the same.
Pour Brine Into The Jar
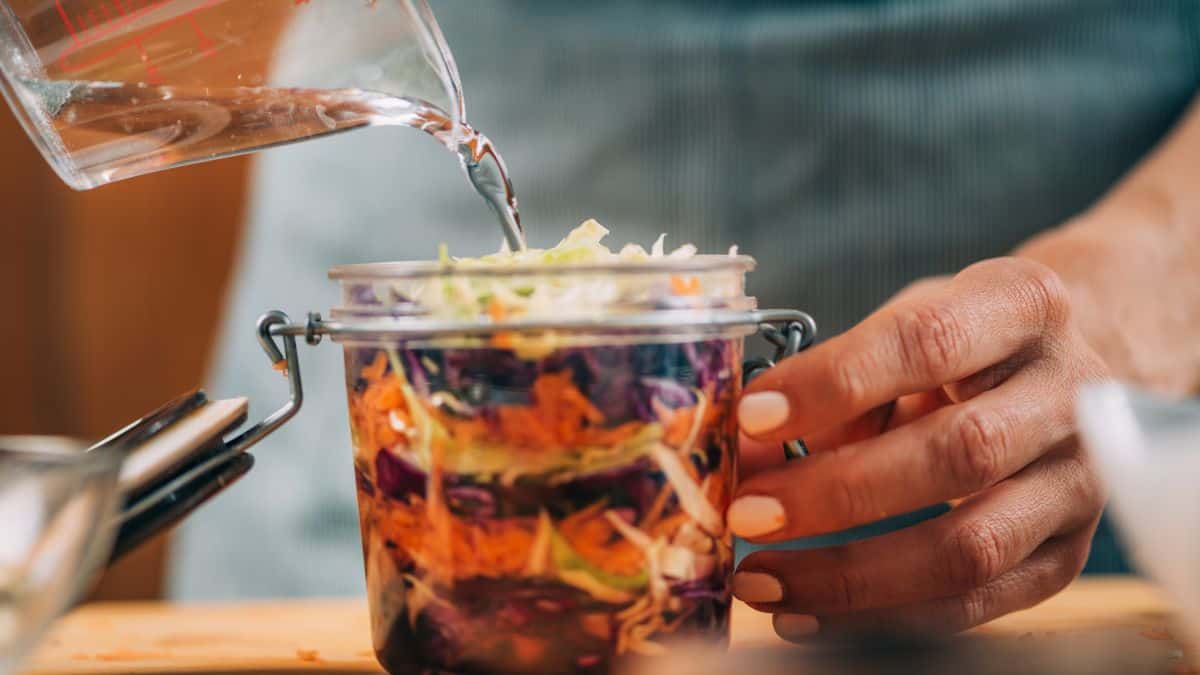
Pour that brine into the mason jar so that the vegetables are completely submerged.
Make Sure Veggies Stay Submerged

One of the first fermenting supplies I bought was a weight. This is placed on top of the veggies in the jar to ensure they stay submerged in the brine. If you don’t have this accessory, however, don’t worry. A trick of the fermentation trade is to fold a larger cabbage leaf on top of the vegetables and press it down into the brine.
Let It Ferment!

Close the lid tightly on the jar and set it outside the reach of direct sunlight on a counter somewhere. The ideal room temperature for fermentation is 68-75°F. You should start to see bubbling around day 2. After that happens, bring the jar over a sink and gently loosen the lid to let out some of the gasses. This is called “burping” the jar. Do this once or twice a day until the veggies are ready.
Fermented vegetables will be ready anywhere from 4-10 days. The longer they sit at room temperature fermenting, the more tangy the taste becomes.
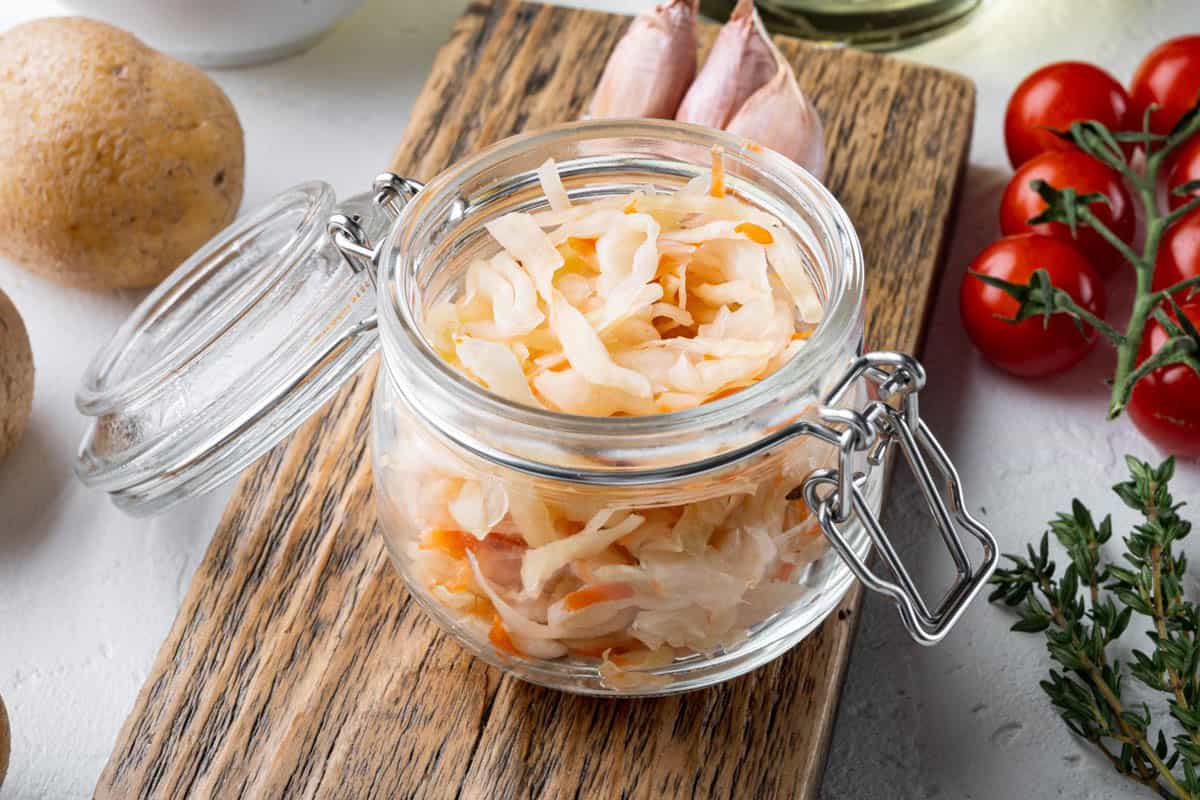
Transfer To The Refrigerator
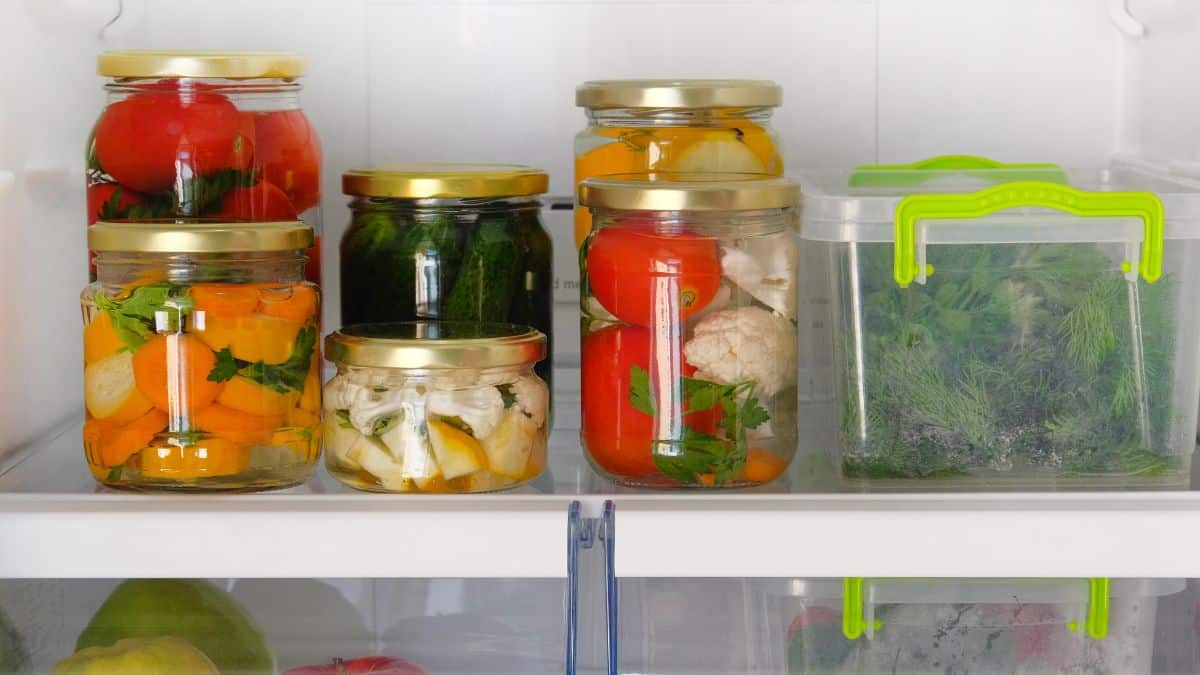
Once you’ve deemed the vegetables ready to eat, transfer to the refrigerator and keep stored there while you enjoy them. They’ll keep for up to a couple of months under refrigeration.
Important Tips

Fermenting is not hard but there are a few important tips to keep in mind:
- Not all salt is created equal — use sea salt, not iodized salt.
- Tap water may kill your ferment — the use of filtered water is imperative.
- Buy organic — nothing kills the healthy gut vibe of fermented foods like some pesticides.
- Don’t be deterred by failure — fermenting is not an exact science. Sometimes you’ll get a moldy batch, it happens. Moldy jars should always be discarded but don’t get discouraged.
Why Everyone’s Eating Fermented Foods & Why You Need To Start

Ever wonder why your gut feels happier after some yogurt or why kombucha is all the rage? It’s all thanks to the magic of fermentation. This process not only makes foods last longer and taste better, but it also loads them up with probiotics, those good bacteria your body loves. Let’s get into why fermented foods are a must-try and how they can up your health game, plus some simple recipes to get you started.
Read it Here: Why Everyone’s Eating Fermented Foods & Why You Need To Start
12 Superfoods That Are Overrated and Overpriced

We’ve all heard the buzz about superfoods that are supposed to transform our health and make us feel invincible. But are they really worth the hype and the hefty price tag? Let’s cut through the noise and look at 12 superfoods that might not be as super as they seem. You might be surprised to find that there are cheaper, equally healthy alternatives out there!
Read it Here: 12 Superfoods That Are Overrated and Overpriced
Select images provided by Depositphotos.
Gina Matsoukas is an AP syndicated writer. She is the founder, photographer and recipe developer of Running to the Kitchen — a food website focused on providing healthy, wholesome recipes using fresh and seasonal ingredients. Her work has been featured in numerous media outlets both digital and print, including MSN, Huffington post, Buzzfeed, Women’s Health and Food Network.

